


Today I’m sharing all the details on a hobby I’ve really started to dive into this summer: container gardening.
One of the things I love about container gardening is that it allows more room for play. You can often go totally out of the box with your selections and can change things up more easily than with an in-ground garden. For someone who loves to experiment when it comes to creative endeavors, this aspect is a definite bonus.
I took Arthur Parkinson’s course on container gardening via Create Academy and it was so informative to me as I planned my own container gardens this year. You’ll see me reference some of Arthur’s guidelines below. If you’re interested in taking his course yourself, you can use code WIT&DELIGHT15 for 15% off your purchase.
4 Tips for Creating a Beautiful Container Garden
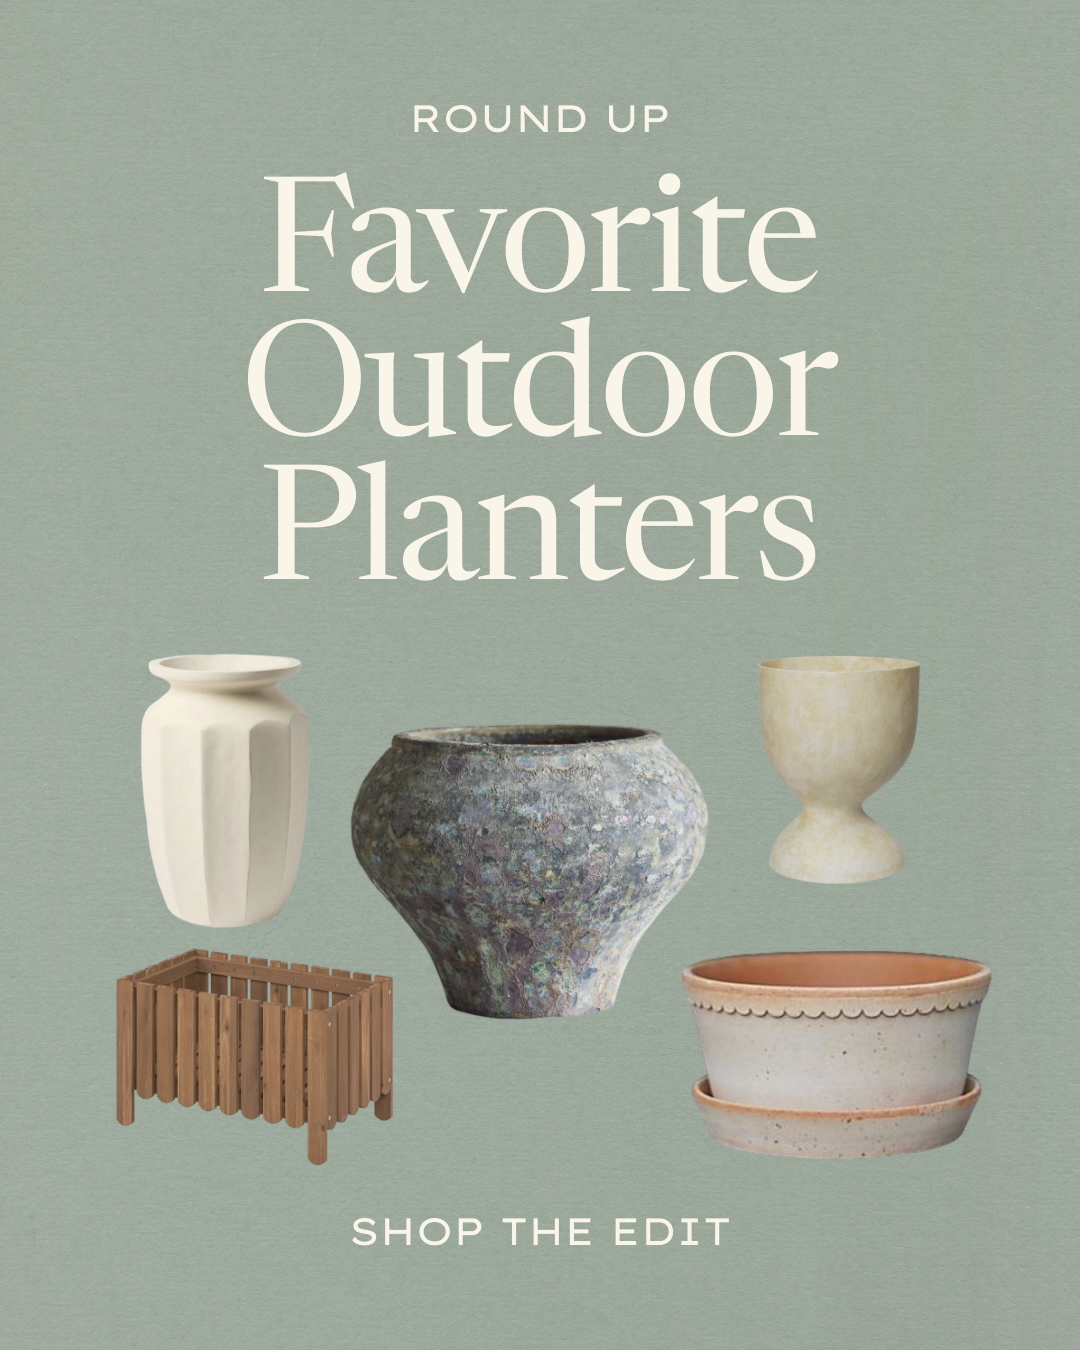
1. Select your planters, with a focus on variety.
As you’re considering the kind of container garden you want to create, the first thing to keep in mind is variety. To get the look I wanted, I knew I needed to have planters in a variety of heights, sizes, and shapes. If you don’t have a mix of tall and short planters, you can also use tiered risers, plant stands, or even a chair or bench you already have to prop up some of the planters. When possible, I like to pair odd numbers of planters together (three or five tends to be the sweet spot in my experience).
In terms of materials, you can go with an eclectic look complete with lots of different materials, or you can start with one material like terra-cotta. If you live in a colder climate, I’d suggest making sure the planters will be okay outside in the cold, if you plan to store them outside all winter. I’d also recommend choosing planters with a drainage hole if possible.
Planters I Used
- Terrain Paloma Ceramic Planter, 23” (gifted)
- Terrain Paloma Ceramic Planter, 18” (gifted)
- Most of the additional planters I used here are thrifted or vintage. Etsy is also a great place to browse for planters!


2. Design your layout.
This is something I took away from Arthur’s course: If you want to create a really intentional container garden, decide on the layout/mood board you like first. Arthur suggests creating a layout for both spring and summer. You can do this digitally or on paper, but the idea is to get a sense of how the plants will work together in their designated planters and which color schemes you want to highlight. I think the container gardens I like most look best with contrasting shapes in a complementary color scheme, while also keeping in mind which plants work best for a given planting zone.
Admittedly, I didn’t have a chance to do this step this year, but next year I plan to! Ideally, I’d like to start cutting out clippings of plants I like from catalogs as soon as August. I can then use these clippings to create a mood board for 2023 and get a better sense of what the container gardens will look like before I shop. My plan is to buy a few more planters when they’re on sale at the end of the summer season, create a spring garden layout, plant bulbs in the fall so they’re ready to bloom in the spring, and then turn over the gardens next summer.

3. Decide on your plants.
Now comes the fun part: selecting the exact plants you’ll use! This year, I picked out plants based on what I was drawn to at the nursery while also keeping some general inspiration I’d browsed on Pinterest in mind.
I tried to focus on plants that provide height to fill in any negative space, flowering mid-height plants, and shorter varietals that will spill over the side of each planter. For the container gardens and the broader front patio space, I went with a variety of plants this year, including ferns, hydrangeas, gardenias, Dipladenia, geraniums, and begonias.
4. Plant your container garden.
While I’m not a pro when it comes to planting quite yet, I did keep a couple of general guidelines in mind throughout the planting process.
- Fill the planter about two-thirds full with potting mix.
- Gently squeeze the sides of each plant’s nursery container to loosen and remove it.
- Arrange your plants in the planter on top of the potting soil, making sure the tops of their root balls are a couple of inches below the top of the pot.
- Add potting soil, making sure you cover the roots fully.
- Water your freshly-planted garden immediately.

Editor’s Note: This article contains affiliate links. Wit & Delight uses affiliate links as a source of revenue to fund business operations and to be less dependent on branded content. Wit & Delight stands behind all product recommendations. Still have questions about these links or our process? Feel free to email us.

Kate is the founder of Wit & Delight. She is currently learning how to play tennis and is forever testing the boundaries of her creative muscle. Follow her on Instagram at @witanddelight_.
BY Kate Arends - June 30, 2022
Most-read posts:
Did you know W&D now has a resource library of Printable Art, Templates, Freebies, and more?
take me there
Get Our Best W&D Resources
for designing a life well-lived


Thank you for being here. For being open to enjoying life’s simple pleasures and looking inward to understand yourself, your neighbors, and your fellow humans! I’m looking forward to chatting with you.
Hi, I'm Kate. Welcome to my happy place.


Like what you see?
Share Wit & Delight with a friend: